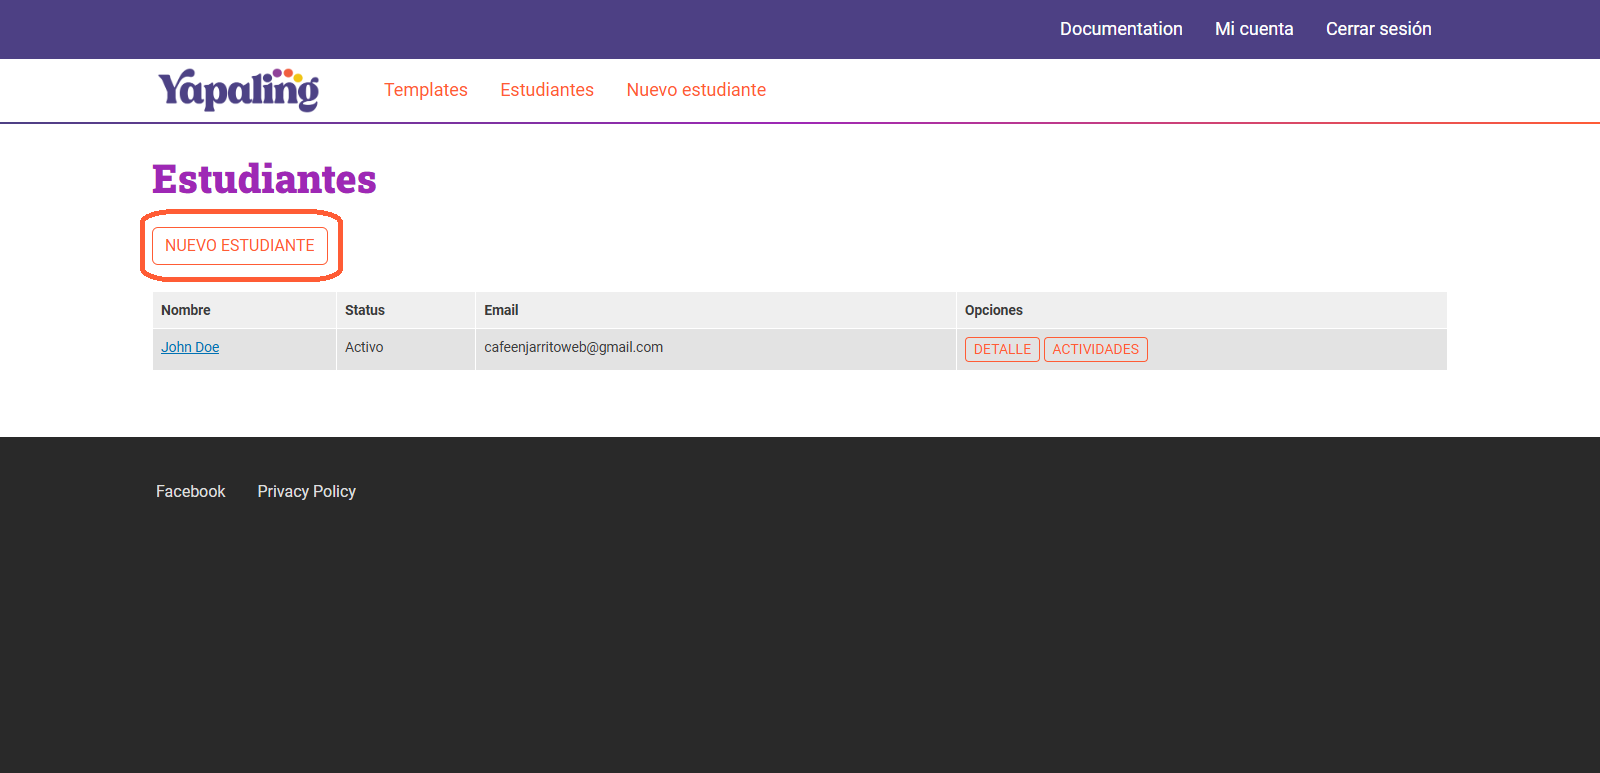
Listing your students
In the Student list you can see all your students. You can access from there, the student details's and see all the activities that he has assigned. Also you can "Add a new Student".
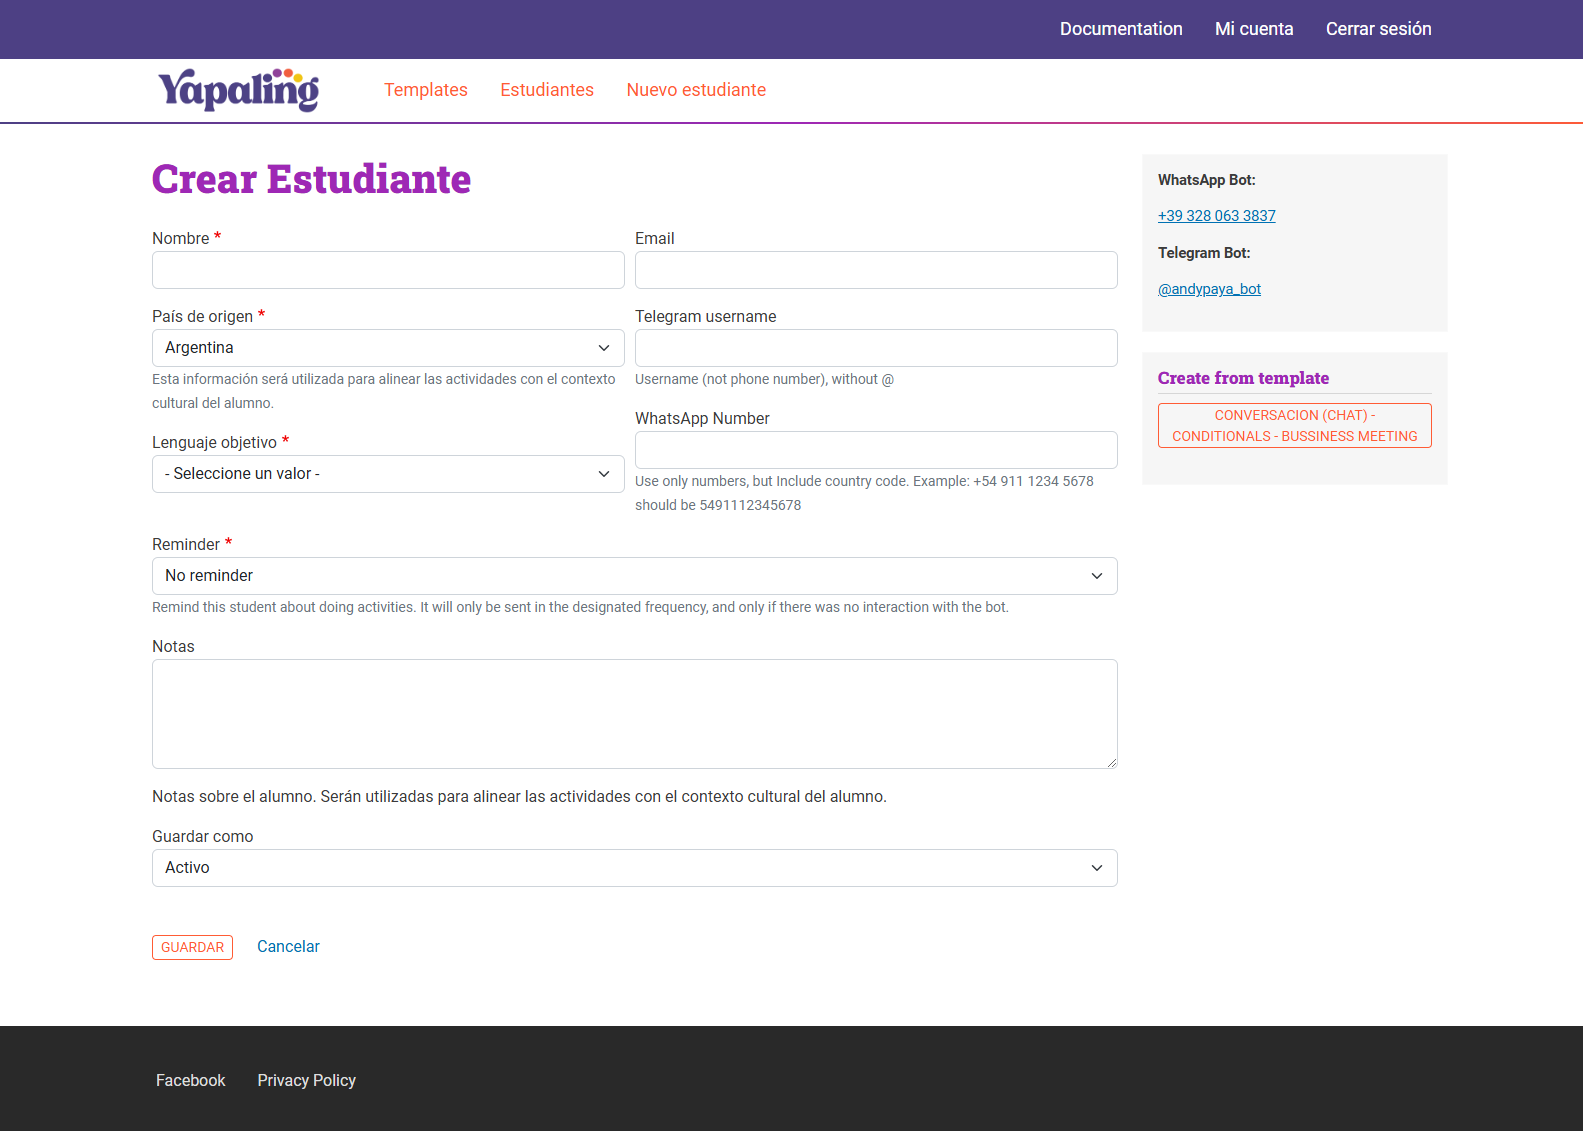
Adding a new student
When adding a new student, it is very important to complete the following fields:
- Email: This will serve as the main form of communication with your student through the platform. It will help you send activity instructions and allow the student to choose where they will complete the activity (WhatsApp, Telegram, or our chatbot).
- Country of Origin: This is crucial for the AI to consider the student's country of origin and optimize the activity according to the cultural and linguistic idiosyncrasies of that country.
- Target Language: This is the language your student aims to learn or improve.
- Notes: Your notes are essential for the AI to incorporate important details about the student and customize the activities accordingly. Here, you should include all aspects of your student that you consider important for your classes and their preparation. These will be used to align the activities with the student's cultural context.
- Save As: you can save your student status as Active or Inactive.
Student details
This section will adapt slightly based on the student's activities, information, and progress. Here, you can monitor your student's development and perform the following actions:
- Edit: Update your student's details as needed.
- New Activity: Assign new activities tailored to their learning goals.
- Send Instructions: Email activity instructions directly to the student's address listed in their details.
- Activities: Review the activities assigned to the student and track their performance.
- Create from Template: Generate a new activity using one of your templates, conveniently located in the top-right corner of your screen.
